

For a couple of years my PC had been in need of a refresh! I’m disabled and spend most of my time at home, and my PC has been everything for me over the last few years: entertainment centre, games console, workspace, and of course, the place where I write all of these articles and do all of the tasks here on the website! When 2021 rolled around I decided I needed to get my act together and get serious about an upgrade, and over the course of last year I put together a list and began to acquire the components for my new build piece by piece.
Though I perhaps know a little more about computers than your average consumer, I’m by no means an expert – as this article will surely attest. That’s why I’m not calling this a “build guide” or “how to build a PC!” There are plenty of far better-qualified people than me who’ve written step-by-step guides on how to do everything, and there are videos on YouTube too. I’d recommend Linus Tech Tips on YouTube, TechRadar’s step-by-step guide, and the Tom’s Hardware forum if you’re looking for that kind of detail – and I’ll include links to all three at the end of this article. I’m writing this for the website to share my experience as a newbie to PC building – and because I enjoy writing!

First of all, it took longer than I’d hoped to get everything in place. I kicked off this project just over a year ago, in early 2021, and I hoped to have made upgrades to my old PC by the summer. I then changed my plans and decided to build an entirely new machine from scratch, adding extra time to the project, but I still had hoped to be finished well before Christmas. In the end it was mid-March that I finally got it done – and there’s one additional task that I’ll aim to complete perhaps later this year or early next year, depending on how things go.
When I set out to build my PC I thought I knew the basics; which components I’d need and roughly how much I’d need to spend on them. But what hit me later on were all of the hidden costs, extras, and accessories: things like additional cables, an extra fan, a new DisplayPort cable, a new surge protector, screwdrivers, a static wrist strap, thermal compound, thermal pads, and so on. Because I’ve also changed where I sit and the orientation of my PC, I’ve also needed to invest in a new monitor arm and additional storage under the table that my PC rests on. All of these smaller things added up and delayed the project by at least a month!

Because I’ve never had a lot of money, I’ve always chosen to invest in items that I feel are higher-quality and stand a good chance of lasting a long time. The cheapest products aren’t always the best value or longest-lasting, as I’m sure you’ve discovered for yourself! With that in mind, I sought out components with excellent reviews, and even a single negative review about a product or the company’s customer service was enough to send me into a tailspin as I pondered the upsides and potential drawbacks. This also added a lot of time to the project!
This time around I chose to go with an AMD Ryzen CPU, specifically a third-gen Ryzen 7 5800x 8-core processor. After more than a decade of Intel’s dominance in the processor space, AMD’s Ryzen chips began getting rave reviews a few years ago, and it seemed like the best fit. I’m not wildly into overclocking nor do I intend to push the chip far beyond its limits – but I wanted to get something that I thought would be high-quality, fast, and that would really show off what a modern PC is capable of.

About a decade ago I suffered a major internet outage that left me reeling! For more than six weeks I remained disconnected, growing increasingly frustrated – and increasingly bored. When I got back online I ordered an external hard drive, and on that drive I installed a number of games, made backups of my DVDs, and so on so I’d always have something to do if I was ever in that situation again. I got a second external drive somewhere along the line too, and my workspace has been cluttered with drives, wires, and power cables for the past few years.
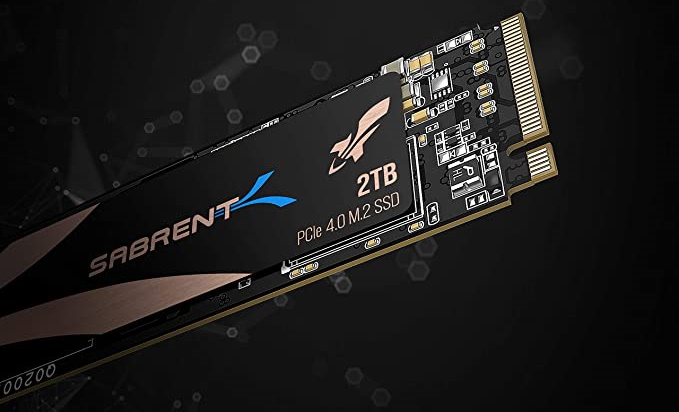
With my new PC, I wanted to ditch the external drives altogether. I don’t go places, I don’t have other computers I might want to plug into, so their presence was just an annoyance! With that in mind I installed two drives in my new PC: an M.2 drive to serve as my main C: drive, where Windows is installed, where other software and apps can be installed, and where I can install most of the games I’d want to play, and a second large hard disk where I can keep all of my stored DVD and Blu-ray rips.

I chose a Sabrent Rocket M.2 drive for my new PC’s primary drive – again, on the back of reviews and recommendations – and a large Seagate Exos hard disk for my secondary drive. It should be possible to install games on the second drive as well, if space becomes an issue on the M.2 in future, which is also a nice feature to have. Redundancy is the name of the game in that case!
This is my first experience with an M.2 drive. My old PC had a SATA SSD, but it was a very cheap one that never seemed to be especially fast. I think it was a Kingston model, and it was pretty small as well. Basically everything except for Windows – including my collection of MP3s and photos – ended up on an external drive.
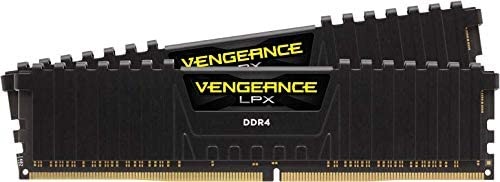
This might be the most controversial part of the build, but I went for RAM overkill: 64GB of DDR4 RAM. The RAM can be clocked to 3600MHz, which is apparently recommended for Ryzen chips, though out of the box it ran much slower. 64GB of RAM is complete overkill for practically any modern system, so I’m told, but last year I was thinking about getting into YouTube – I had a short-lived foray into podcasting – so I thought I might need the extra if I got serious about video editing or other RAM-intensive tasks.
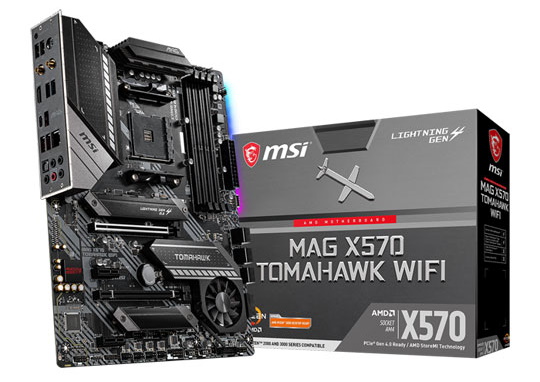
I chose a decent motherboard to go with all of these components – a “gaming” model from MSI. I also invested in a power supply from Be Quiet that’s rated 80 Plus Titanium – the highest rating available from the premiere ratings organisation for these kinds of things. I don’t pretend to know the exact details of what makes a “Titanium” better than a “Bronze,” but I think it’s to do with power efficiency, particularly during periods of heavy use. It seemed worthwhile to spend the extra money on something more efficient, though, and I made sure to choose a power supply that could more than handle all of the components I was putting into the machine.
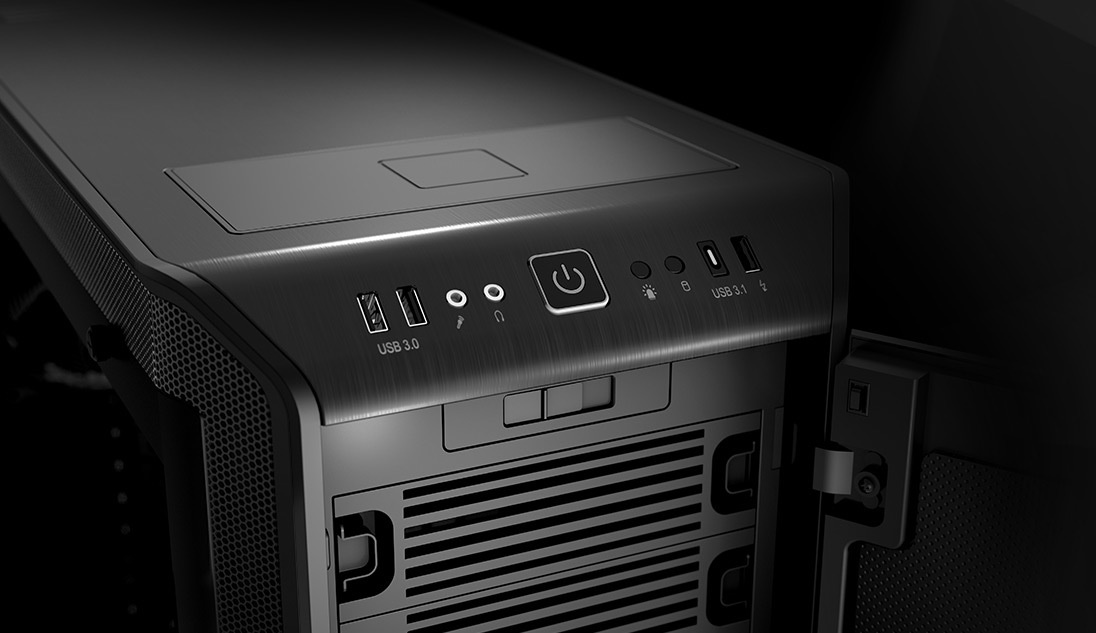
Here’s a problem that I wager most users won’t have to factor in: cats! I have several cats, and they have a tendency to jump on my PC case. With my old machine, I found that the inconveniently-located power button meant that they were frequently turning my PC off with their paws when jumping or walking on the case, so I wanted to choose a new case with a power button either on the front or at least not flat on top. Most cases nowadays seem to have that kind of design; the “old days” of horizontal cases or power buttons on the vertical front of the case seem to be long-gone!
I chose a Be Quiet case in the end; the power button is still near the top, but it’s located on a sloping panel that means my cats could jump up and down without disturbing it or accidentally switching me off halfway through writing an article… or halfway through the latest episode of Star Trek! The Be Quiet Dark Base 900 is a much larger case than my previous machine, but I think that means that there should be good airflow for keeping all of the components cool.
The CPU cooler that I chose was also based on reviews and recommendations: I went with a Noctua NH-D15. I debated using a water cooler – one of the all-in-one systems – but ever since I knew a fellow PC builder who ruined his entire system when his homemade water cooling system sprang a leak… let’s just say I’ve been put off! I know that today’s all-in-one water coolers are probably safe to use – far safer than the janky piece of crap my feckless friend built in his basement 20+ years ago – but even so, I felt that an air cooler was the way to go. The Noctua NH-D15 is one of the best-reviewed setups on the market, and it has recently been updated with a special AMD Ryzen mounting bracket, so that was the version I picked up.
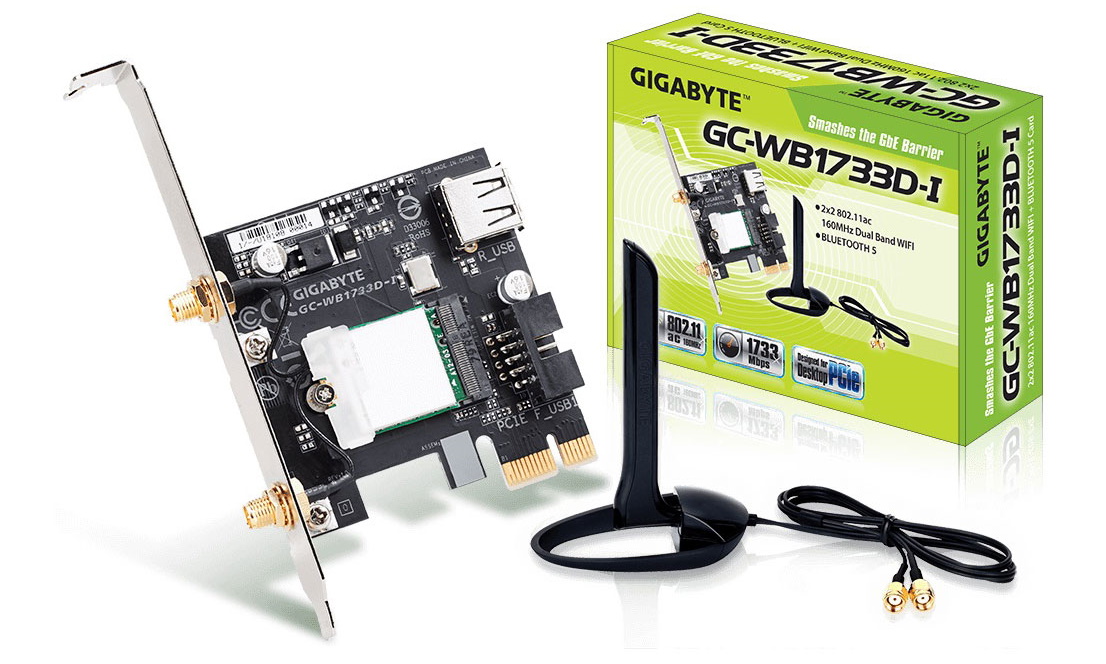
I chose to add one PCIe card – a WiFi and Bluetooth antenna. I don’t care about the WiFi particularly as I’ve always preferred to use ethernet for my stationary PC, but I wanted to add Bluetooth functionality. I use a Bluetooth keyboard and I have a couple of other Bluetooth devices that I thought I might try to connect, and considering that it wasn’t hugely expensive to add it in, it seemed worthwhile.
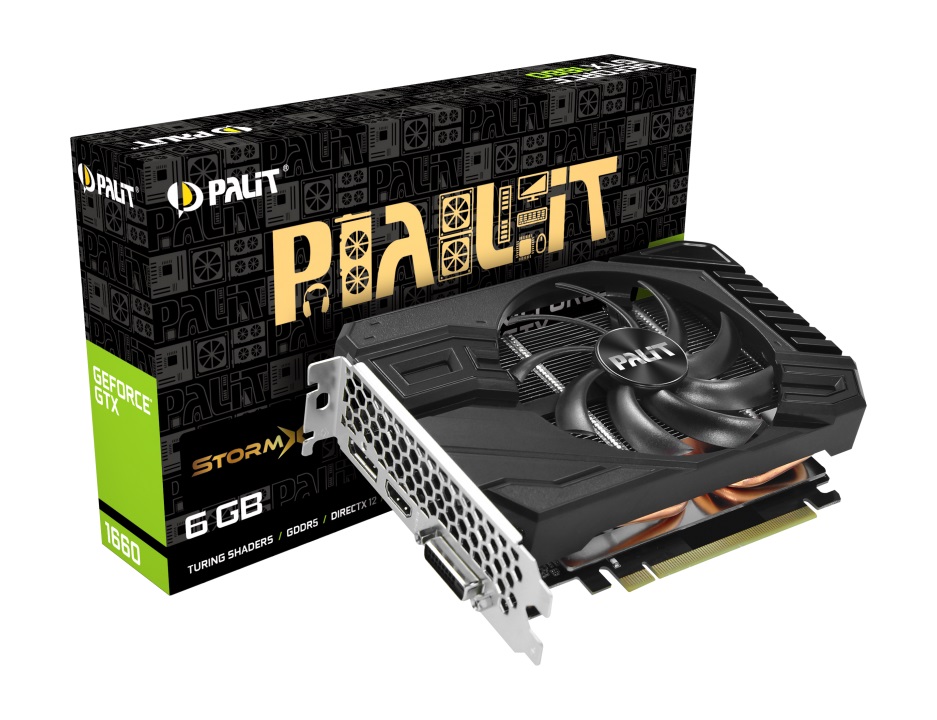
With prices for graphics cards having been sky-high for years, I knew from the start that I would recycle my current one rather than wait months only to pay over-inflated prices. When my GPU crapped out on me a couple of years ago I replaced it with a modern GTX 1660, so it’s not like it’s a horribly outdated component. It would be lovely to back up all of that new hardware with a ray-tracing graphics card that can really take advantage of modern games… but one thing at a time! That’s an upgrade that I hope to get around to either later this year or next year, depending on prices and how well my PC performs.
So those were the main pieces that I chose. It took a while to back up all my files (and double-back up the most important ones because I’m paranoid like that), but eventually I’d done as much as I could, procrastinated long enough, and was ready to get to building!
I’m absolutely certain that building a PC in 2022 is significantly easier than it would’ve been fifteen or twenty years ago. Most components slot into place, there are step-by-step guides and video tutorials on how to do everything, and even the instructions that came with the components were easy to understand.
I started by taking the motherboard out of its box, strapping on my anti-static wristband and grounding myself, and making sure I had my new screwdriver kit at the ready! Installing the RAM was the task I chose to do first – it’s something I’d done before and I knew exactly what I was doing. From there I installed the M.2 drive and its heatsink, and then the task I was probably most nervous about: the processor itself.
How many horror stories have you seen of bent pins, misaligned chips, and other CPU disasters? I couldn’t tell easily which way the chip was supposed to be oriented; the little triangle that’s supposed to indicate that was incredibly small and blended in. But after checking, double-checking, and psyching myself up for it, I gingerly placed the chip in its awaiting hole… and we had success! Nothing was broken, no pins snapped off, and nothing blew up. Phew!
Next I applied a small amount of thermal compound (I went with Kryonaut’s “Thermal Grizzly” paste instead of the stock one from Noctua). Doing what I’d seen others do on video, I laid out a small drip of the stuff, no larger than a grain of rice, and then secured the cooler in place. It amazes me that such a large cooler is okay; it looks like it’s hanging there, suspended in mid-air!

Having done about as much as I could with the motherboard outside of the case, I next had to grab the case itself and start installing the power supply. The Be Quiet power supply that I chose came with a large number of cables, not all of which I ended up using. Some of the cables look very similar to one another, so it took a while to make sure I’d got each one in the right place!
I installed the motherboard, screwing it into the appropriate standoffs in the case. Then I slowly began plugging in each of the various cables, including a bunch of wires that had been dangling inside of the case when I opened it up! I installed the hard disk in the lower corner of the case, and removed all of the other hard disk trays that I’m not using (I’ll hang onto them in case I ever want to add in another drive or something). I hope this will result in slightly better airflow.
All that was left was to install the GPU and the Bluetooth card in the two PCIe slots. Having done that, which didn’t take very long at all, I checked my watch and was surprised to see it had only been about ninety minutes! Thinking to myself that I’d done a good job, I grabbed a Dr Pepper and went in for a victory sip while the cats sat idly by and watched. To my surprise none of them tried to interfere while I was working… good cats!
But I was far from done, as it turned out. After double-checking every connection and component, I plugged in the PC and hit the power button… and nothing happened. Oh god, panic time! What have I done wrong? How can I even test to see what’s happening if literally nothing is happening?! After a moment of abject panic I tried to think back… what could have gone wrong? Why would absolutely nothing at all happen when I hit the power button?

After checking the very obvious things – was the power supply switched on, was the cable plugged in, was the surge protector turned on, etc. – I honed in on the problem: the power button itself. The power button had to be connected to the motherboard using a two-pin cable, and the connection had to be in a specific orientation (as denoted by a plus and minus symbol). I’d installed it back to front. After reversing the power switch connector I tried again, and to my joy and relief the system sprang to life!
All of the fans seemed to be spinning, and after reaching the BIOS it seemed like everything was showing up: the system detected the existence of its USB ports, its M.2 drive, its hard drive, it had the right amount of RAM… everything seemed to be right where it should be, so I shut it down and prepared to install Windows 11.

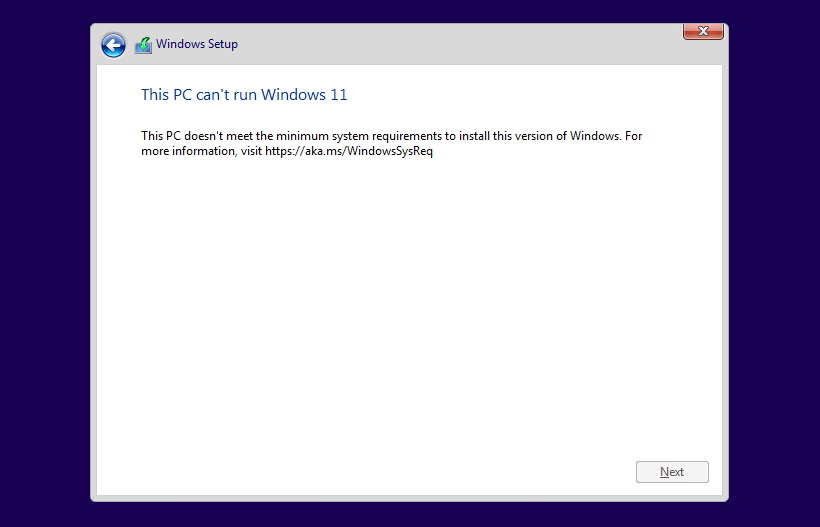
Ugh. Windows 11. We’ll have to talk about this in more detail on another occasion, but for now suffice to say that Windows 11 appears to have been designed by a team of software experts at Microsoft who were given the explicit brief of creating an operating system that embodies every aspect of the word “irritating.” They succeeded beyond their wildest ambitions.
I was told at first that “This PC can’t run Windows 11!” thanks to the ridiculous hardware requirements that Microsoft placed on the new OS. I knew that wasn’t right, because the Ryzen 5800X has the required module to be able to run Windows 11. However, this security feature is not enabled in the BIOS by default, so I had to go in and turn it on manually. Having completed this task, Windows 11 happily installed at the second time of asking.
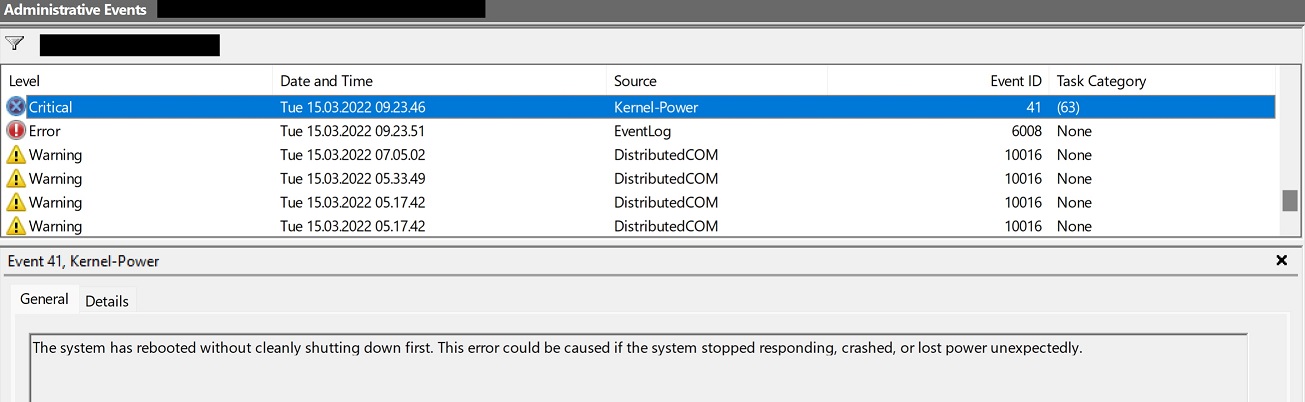
That should have been the end of the affair, but there was one final twist in this tale of amateur-hour PC building! A couple of days after putting everything together, slapping myself on the back, and calling it a job well done, the new PC began experiencing random crashes. There would be no warning, no blue screen… just an instant shutdown as if the power had been cut. I was very worried!
These shutdowns produced no error messages worth their salt, just a very basic message in the Windows Event Viewer that said nothing about the cause. After spending a long time on Google and chasing down replies to years-old posts on forums, I tried as many different software fixes as I could find: updated drivers, uninstalled programmes, rolled back Windows updates, re-installed every driver one by one, updated the motherboard BIOS, deleted installed apps… nothing worked. The shutdowns continued, and they seemed to be getting worse. At one point, the system tried and failed to boot five times in a row; it wouldn’t even make it as far as the desktop before losing power.
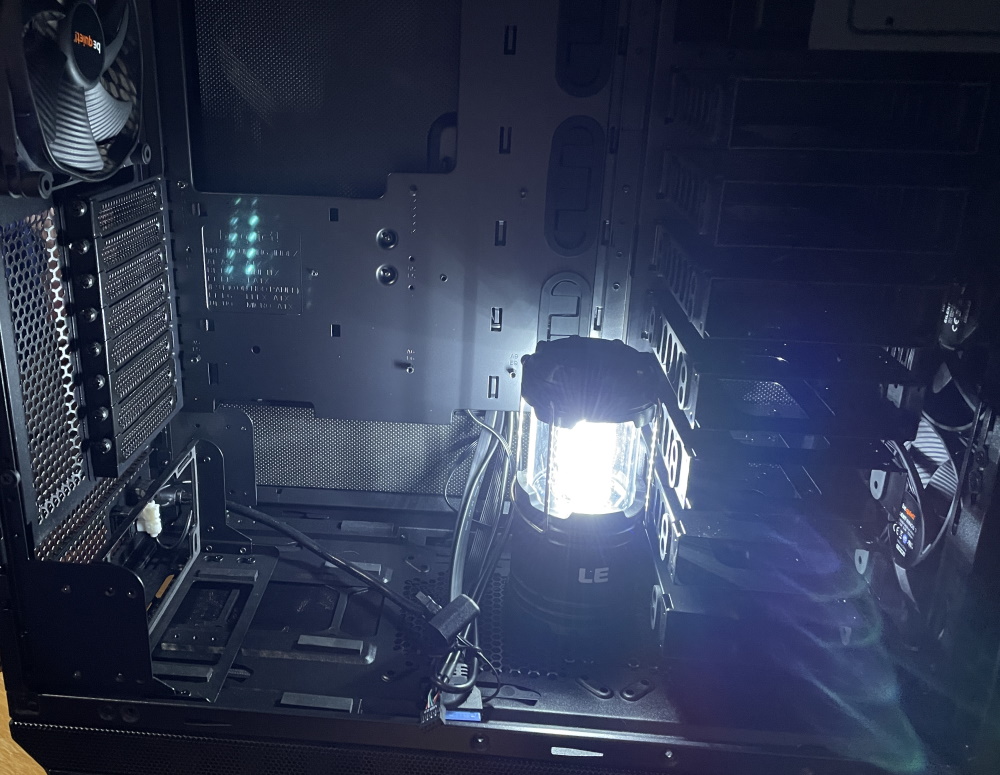
After a lot of digging around, which the vagueness of the error message (and the fact that Windows 11’s Event Viewer is cluttered with warnings that Microsoft says are totally fine) did not help, I eventually relented and opened up the case again to see if there could be a hardware problem. It didn’t seem like a typical hardware issue – if there was a nonfunctional or broken component, I would have expected to see this problem from the very first moment I put the system together, not starting days later after everything had been going smoothly.
Every component appeared to be securely in place; the CPU cooler wasn’t falling off, all the cables were plugged into the power supply securely, and the power supply itself seemed to be in good working order. Running out of options I did something that really isn’t recommended – poking around inside the case while the system was powered on. I poked and prodded at the various components as safely as I could, and eventually I hit upon the problem – the cable connecting the power supply to the CPU was just slightly loose. The tiniest bump or prod on this connection switched the system off in exactly the same fashion as I’d been experiencing.

Rerouting the cable in question, and tying it as securely as I could to the inside of the case, seems to have solved the problem. I can only assume that it came loose in the first place thanks to a combination of my amateur workmanship leaving it susceptible to the smallest of knocks… and the cats jumping on top of the case! They didn’t jump on the new case for a couple of days as they were wary of this new addition to the room, but I think their jumping must’ve been just enough to loosen this CPU power cable and cause those irritating random shutdowns. At time of writing it’s been just over a week since I rerouted the cable and the problem has not returned.
So that’s my PC building journey. It was an interesting experience, and while I can’t honestly say that I saved a lot of money by buying my own components, what I can say is that I got exactly the PC that I wanted. I got to choose every part, I got to make sure that I got components that met my requirements – or the requirements I thought I had, at least! – and I got a new experience out of it, too. At my age, brand-new experiences are few and far between!

If you’re looking for a recommendation, I’d say that building a PC isn’t for the total beginner. Sure, most components snap together easily enough, and anyone who’s ever built a Meccano set would be able to do that part of it with a few basic tools and the instructions. But knowing where to begin, and where to look in the event of things not going exactly as planned… that required some background knowledge on the basics of how PCs work. If you’ve taken an interest in technology, though, and you know the difference between a CPU and a GPU, or which way around fans should be pointing, then I’d say it’s a fun project – but it is a project, and that requires some degree of effort, preparation, troubleshooting, and an ability to Google your way to solutions!
I’m glad I attempted this project, and hopefully the new PC will tide me over for the next few years with no trouble. I have vague plans, as mentioned, to get a ray-tracing graphics card in the months ahead, but for now I’m satisfied. I’ve copied over all of my files and backups, and I’ve started installing a few games to play – including a couple of titles that my old PC struggled to get running.
Stay tuned for a review of Windows 11 in the days ahead, because I definitely have some thoughts on Microsoft’s latest operating system. Some very critical thoughts!
Below you can find a list of the components that I used to build my new PC.
- Power Supply: Be Quiet! Dark Power 12 850 Watt Fully Modular 80+ Titanium
- Case: Be Quiet Black Dark Base 900
- Case Fans: Be Quiet Silent Wings 3 PWM 140mm
- Extra Case Fan: Noctua NF-A14 PWM 140mm
- Motherboard: MSI MAG X570 Tomahawk WIFI ATX
- CPU (Processor): AMD Ryzen 7 5800x 8-Core
- GPU (Graphics Card): Palit GeForce GTX 1660 6GB
- RAM: Corsair Vengeance LPX 16GB x4 (64GB total)
- Solid-State Drive: Sabrent Rocket 2TB Nvme M.2
- SATA Hard Disk: Seagate Exos Enterprise Class
- PCIe Bluetooth Card: Gigabyte GC-WB1733D-I
- Extra Cable: Sabrent SATA III
- Operating System: Windows 11
- Tools: iFixit Essential Electronics Toolkit; anti-static wrist strap
Below you can find links to a few websites that I found helpful during my planning and preparation stages:
- Linus Tech Tips forum
- Linus Tech Tips on YouTube
- Tom’s Hardware
- TechRadar Step-by-Step PC Build Guide
- Eleven Forum
I’m not an expert and this article is not intended as advice or a guide. You are solely responsible for the outcome if you choose to build your own PC, and I accept no responsibility for any damage or destruction that may result. Some stock images used above are courtesy of Pixabay. This article contains the thoughts and opinions of one person only and is not intended to cause any offence.
